ECF on Flat Surfaces
Overview
 Design cut into the end of a piece |
 Design cut into the side of a piece |
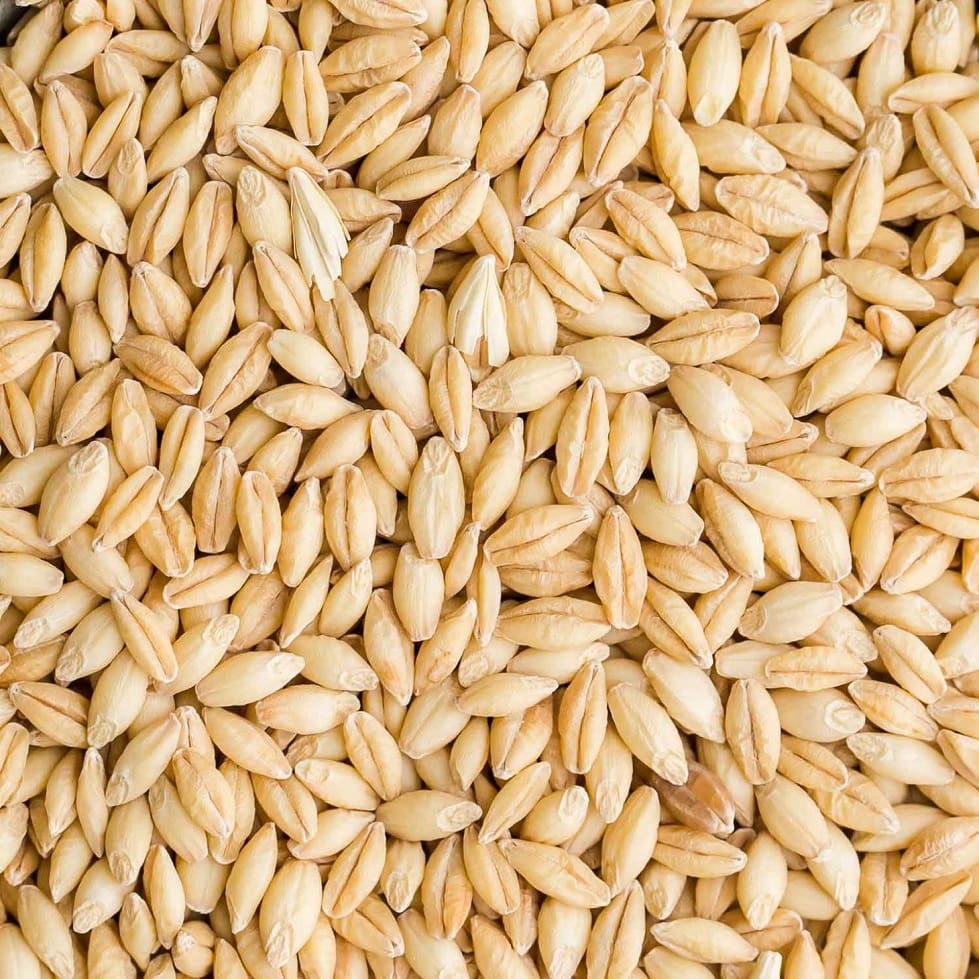
Barley corns
Barley corns are the part harvested from the barley plant. When de-husked, the corns look like the picture to the left.
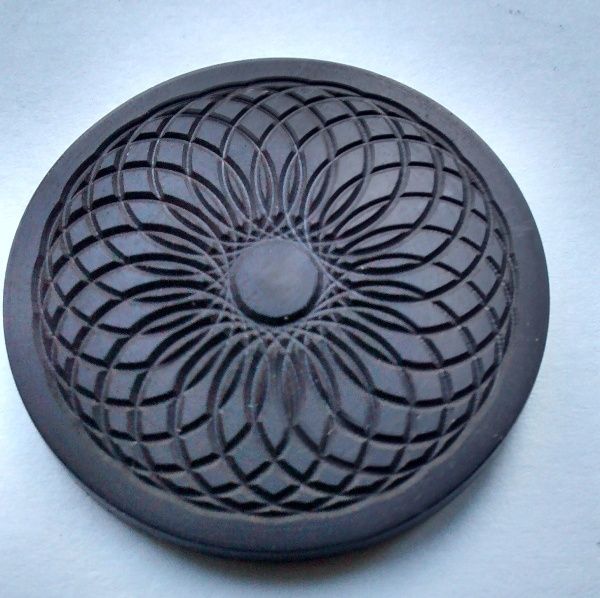
Using an eccentric cutting frame, similar patterns can be produced on the end or side of a piece. Examples are shown to the right.
Oftentimes, when designs are cut into the side of a piece, the design is called a barley corn, and when cut into the end of a piece, the pattern is called a turk's head.
That convention seems to be fairly fluid, and barley corn often gets applied to designs cut into the end of a piece.
This document addresses cuts into a flat surface (e.g., the end of a piece). For a discussion of cuts into the side of a piece, see the article, ECF on Round Surfaces.
 |
 |
 | ||||||||||||||||||||||||||||||||||||||||||||||||||||||||||||||||||||||||||||||||||||||||||||||||||||||||||||||||||||||||||||||||||||||||||||||||||||||||||||||||||||||||||||||||||||||||||||||||||||||||||||||||||||||||||||||||||||||||||||||||||||||||||||||||||||||||||||||||||||||||||||||||||||||||||||||||||||||||||||||||||||||||||||||||||||||||||||||||||||||||||||||||||||||||||||||||||||||||||||||||||||||||||||||||||||||||||||||||||||||||||||||||||||||||||||||||||||||||||||||||||||||||||||||||||||||||||||||||||||||||||||||||||||||||||||||||||||||||||||||||||||||||||||||||||||||||||||||||||||||||||||||||||||||||||||||||||||||||||||||||||||||||||||||||||||||||||||||||||||||||||||||||||||||||||||||||||||||||||||||||||||||||||||||||||||||||||||||||||||||||||||||||||||||||||||||||||||||||||||||||||||||||||||||||||||||||||||||||||||||||||||||||||||||||||||||||||||||||||||||||||||||||||||||||||||||||||||||||||||||||||||||||||||||||||||||||||||||||||||||||||||||||||||||||||||||||||||||||||||
|
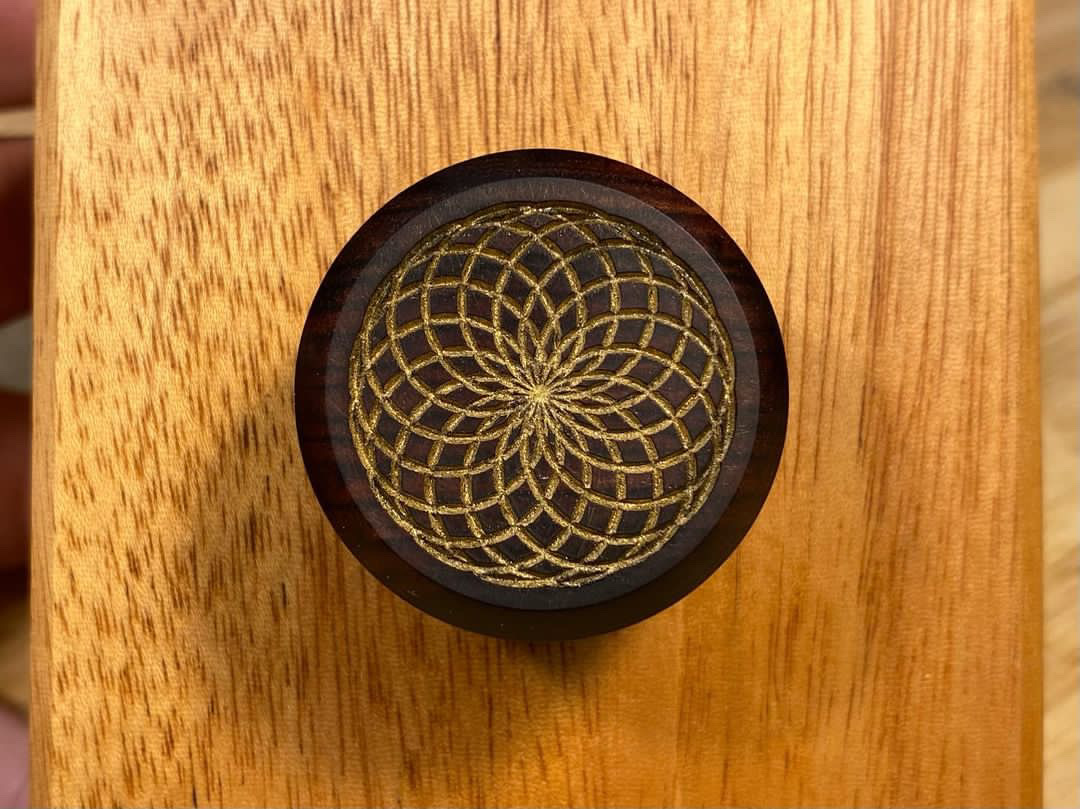
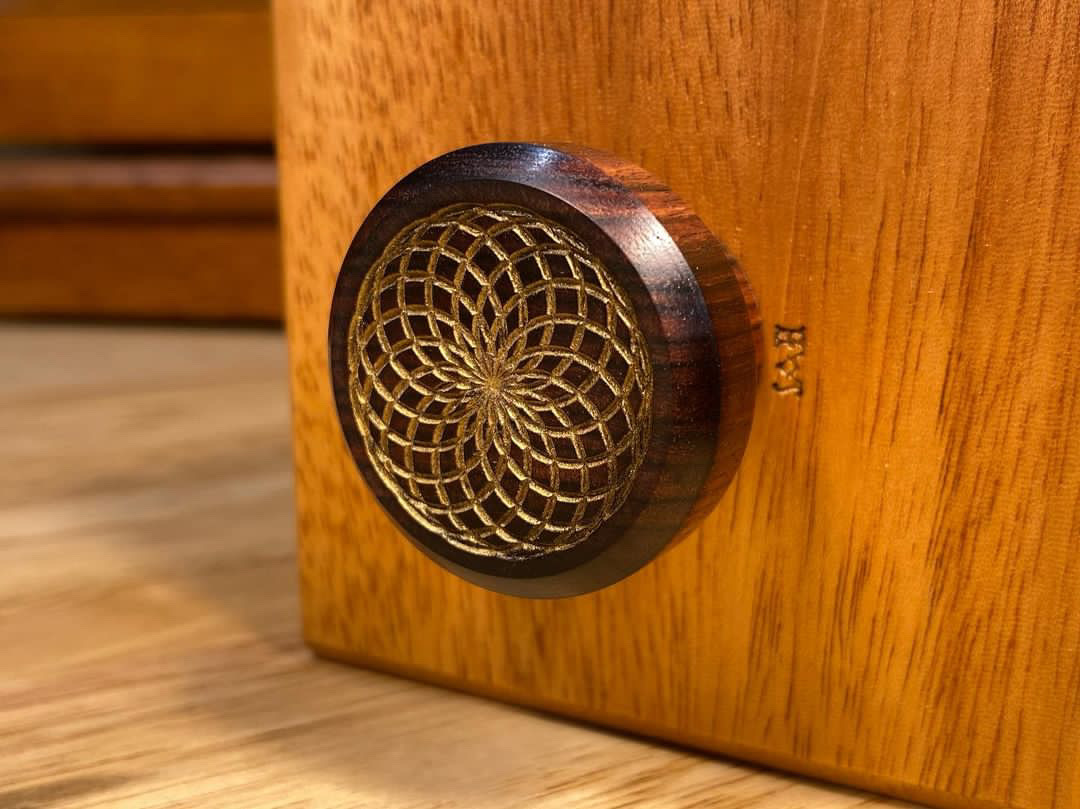
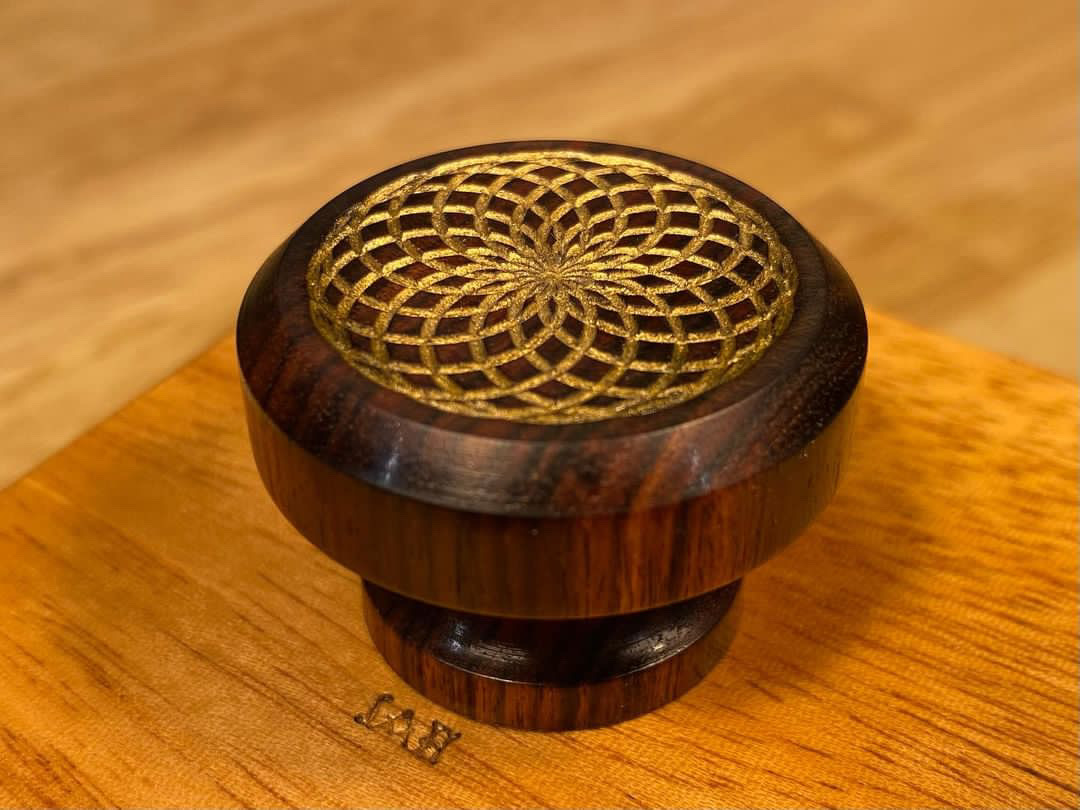
Turk's Head design cut into the head of a knob | ||||||||||||||||||||||||||||||||||||||||||||||||||||||||||||||||||||||||||||||||||||||||||||||||||||||||||||||||||||||||||||||||||||||||||||||||||||||||||||||||||||||||||||||||||||||||||||||||||||||||||||||||||||||||||||||||||||||||||||||||||||||||||||||||||||||||||||||||||||||||||||||||||||||||||||||||||||||||||||||||||||||||||||||||||||||||||||||||||||||||||||||||||||||||||||||||||||||||||||||||||||||||||||||||||||||||||||||||||||||||||||||||||||||||||||||||||||||||||||||||||||||||||||||||||||||||||||||||||||||||||||||||||||||||||||||||||||||||||||||||||||||||||||||||||||||||||||||||||||||||||||||||||||||||||||||||||||||||||||||||||||||||||||||||||||||||||||||||||||||||||||||||||||||||||||||||||||||||||||||||||||||||||||||||||||||||||||||||||||||||||||||||||||||||||||||||||||||||||||||||||||||||||||||||||||||||||||||||||||||||||||||||||||||||||||||||||||||||||||||||||||||||||||||||||||||||||||||||||||||||||||||||||||||||||||||||||||||||||||||||||||||||||||||||||||||||||||||||||||||
Additional examples of work
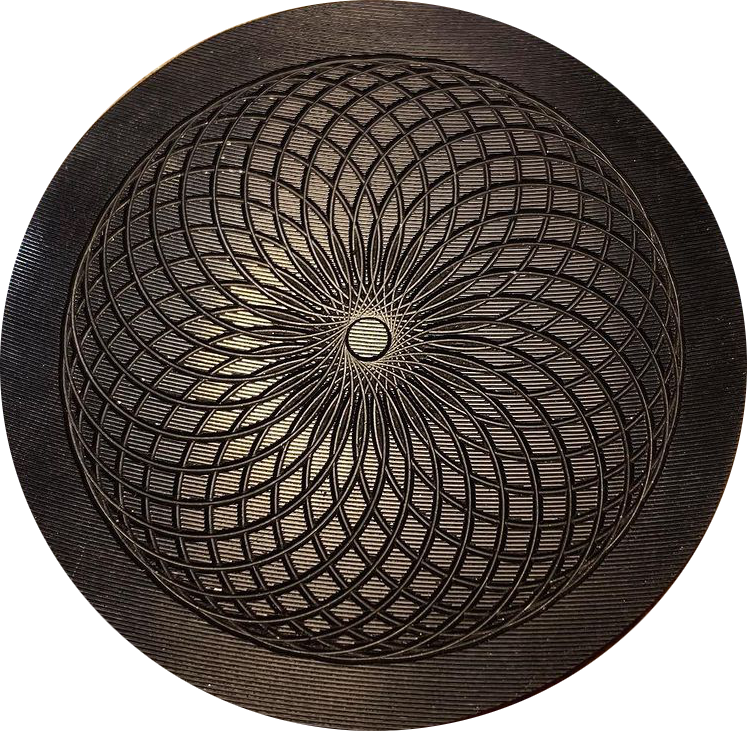
Turk's Head design cut into
an old LP record
Image courtesy Spencer Hamann
Spencer's design shown to the right is a turk's head cut into an old 78 rpm record. The old record provides a graining background, and the matte surface shows the cuts made by the eccentric cutting frame very well. This works especially well if the cutter has an edge angle which is greater than 90°, as the cuts will reflect light.
Notes on Cutting into the End of a Piece
|
Figure 1  Circles with no overlap |
|
Figure 2  Circles with 50% overlap |
|
Figure 3  Circles with 75% overlap |
The considerations which factor into the design delivered include:
1. Number of circles.
The placement of the circles is set using indexing, so the division plate / index wheel determines the maximum number of circles which can be emplaced onto the piece.
The number of circles can be fewer if a variegated (or interrupted) pattern is used. The variegated pattern is most often seen when cutting into the end of a piece, far less so when cutting into the side. When using a variegated pattern, generally patterns are selected with great overlap (e.g., 75%).
|
|
2. Spacing of the circles
When the circles have radii smaller than the radius of the piece, it will look like the example above on the left. BarleyCorn is the term typically used for this.
The number of circles can be such that they overlap rather than simply being adjacent to each other. Two examples of such overlap are shown to the right.
Spacing of the cuts can also be used to give nice artistic effects. When they are close together, the artist can skip the making of a cut every so often (e.g., every 5th one) to give a nice effect. This is called an interrupted pattern, and is most commonly seen when cutting on the end of an object.
|
|
3. Size of the circles
|
Figure 4  Calculations for producing barleycorns |
With barleycorn designs, it is very traditional that the circles should touch. So, using the three sizing and spacing values:
- Radius of the circle where the centers for the cuts made by the ECF (R1). This sets the offset from the center of the piece.
- Radius of the circles cut (R2). This sets the eccentricity of the cutter from its axis of rotation.
- Number of circles cut. This sets the indexing.
Bill Ooms put together a spreadsheet for making the calculations. This and more are available on his web site.
This web-based calculator is also available on the MDF Rose Engine 2.0 manual for ELFOS: Turk's head calculator.
|
|
|
Figure 5  ECF Cut Diameter < ½ Pattern Diameter |
Figure 6  ECF Cut Diameter = ½ Pattern Diameter |
Figure 7  ECF Cut Diameter > ½ Pattern Diameter |
|
|
Figure 8  Pattern with Skipped Cuts |
|
The size of the circles made by the ECF also sets different looks to the pattern. In Figures 5-7, the diameter of the overall pattern is the same. Also, the number of cuts made by the ECF is the same: in these cases, there are 20, each one indexed 18° apart.
What changed was the diameter of the cut made by the ECF.
You can note that increasing the diameter of the cut also makes for a tighter pattern with smaller "diamonds" between the cuts. It may be necessary to achieve the artistic intent by reducing the number of cuts for patterns where the ECF cut diameter > ½ pattern diameter.
In Figure 8, this is the same cut as in Figure 6, however every 5th cut was skipped. This tends to really open the pattern up; possibly too much. In such cases, you may need to consider adding more cuts to the patten -- i.e., cutting them every 12° and skipping every 5th or possibly every 6th one.
|
|
|
4. Depth (and width) of cut
The depth of cut can be deep as shown in the picture above where the cuts are on the side of the cylinder. Or, it could be shallow cuts as shown in the picture where the cuts are on the end of the cylinder.
More Information
Published Articles
- The Eccentric Cutter from James Lukin's Simple Decorative lathe Work, 1905. Ornamental Turners International Newsletter, Volume 25, No. 1 - Summer, 2018, pg. 8
- A High Speed Eccentric Cutter by Fred Armbruster.
- Ornamental Turners International Newsletter, Volume 6, No. 2 - Fall, 1999, pg. 1
- Ornamental Turners International Newsletter, Volume 20, No. 2 - Fall, 2013, pg. 18
- Lindow Rose Engine Alignment Procedures, Section 2, pg. 4 & pg. 8
Books and Papers
- Eccentric Turning, by an Amateur (actually, Nathaniel Brown Engleheart). This is an excellent book with great examples and instructions on how they were produced. It is available as a re-print and that is probably sufficient for use.
|
Disclaimer: eMail comments to me at OTBookOfKnowledge @ Gmail.com. The process of woodturning involves the use of tools, machinery and materials which could cause injury or be a health hazard unless proper precautions are taken, including the wearing of appropriate protective equipment. |